How to Photograph Your Artwork So It Sells Online
4 steps to photograph your art like a pro
Many artists struggle when it comes to photographing their artwork. They’ve spent days and hours—maybe weeks and months—on the intricate details of the piece and, when it comes time to create a proper image for selling online, either aren’t sure where to begin or just take something quickly with their phone.
Remember, this will often be the first sample of your work that people will see, and if the images aren’t good enough, it will more than likely be the last. Let’s get it right so you have great selling success with these pointers.
Here are four steps for photographing your artwork so it gets noticed by collectors.

1. The Camera
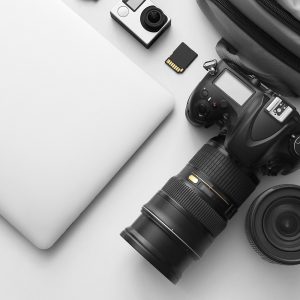
Use a good-quality digital camera on the highest-quality settings, and use a tripod. This helps to avoid taking blurry photographs and keeps your image in focus and properly aligned with your artwork resulting in clear, sharp images. If you have to use your smartphone, be sure to use all the settings it offers to your advantage.

2. The Lighting
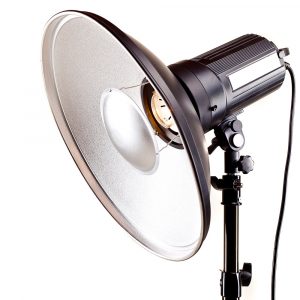
The ideal lighting is diffused natural lighting, such as a cloudy day, which allows you to capture the most accurate colors and to avoid shadows. Don’t have time to wait for a cloudy day? Get two lights that are exactly the same—wattage and color—and place them at 45-degree angles from the center of your artwork. Try to diffuse the light to avoid glare. Place your camera in the center.
Do not use a flash. It creates hot spots and glare on your artwork. A few sheets of white foam core can be set up to simulate a “raking light” effect where the lights are pointed at the foam core and the whiteboard reflects the light back at the piece.

3. The Setup and Composition
Use a clean, uncluttered background. Nothing but the artwork should be in the photograph.
Avoid image distortion by taking the picture with the camera level with the center of the artwork. Always take the picture with the artwork parallel to the camera.
Fill the frame as much as you can with the artwork, cropping out borders, matting, frames, etc.
Take some closer detail shots of the piece. Are there special details and finishing on the sides? A remarque, sketch, or special signature on the verso side? If it’s a sculpture, be sure to take shots from all sides and angles.

4. The Files
Review your images at 100% to choose the best shot and the best focus, and edit your photos to perfection.
There are plenty of free or inexpensive photo editing software alternatives out there that will help minimize any inconsistencies. Photoshop is considered the best, but Photoshop Elements or Gimp have basic functions such as color correction, cropping, and other adjustments. Lightroom also offers a subscription-based editing program that professional photographers swear by.
Here are several free image-editing softwares that you can also use:
- Preview (included with any Mac)
- Paint.Net (Windows)
- PhotoScape X (Mac)
When you upload your artwork to a website to be sold, your artwork images should not include:
- Logos, watermarks, or digital time stamps
- Digital text overlay of anything that is not part of the artwork (e.g., artist’s website)
- External people holding or standing next to the artwork
It’s important that you take high-quality photographs that accurately represent the appearance of your artwork, capturing as much detail as possible. Remember, you are trying to sell your art to someone who has never seen your work in person. You want to capture as much detail as possible so your creativity and techniques shine through. Don’t forget to include at least two detail shots of the artwork, and make sure that the images you share accurately represent your art.
For more tips on how to sell your art online, expand your business’s reach, sharpen your marketing skills, and reach the next level in your art career, sign up for Redwood Art Group’s mailing list below.


